While using Docker Compose to install a DHIS2 instance is not recommended for production instances, many users and developers benefit from running local DHIS2 instances for testing and development purposes. If you are using Windows, one of the easiest ways to start a DHIS2 instance is by using Docker Compose.
In this post, you will find step by step instructions to start a local instance in your windows OS. Additionally, you could use the get-dhis2.sh automation script mentioned below to make the process much easier.
The only prerequisite here is a Windows OS version that supports WSL2. Docker documentation mentions these requirements:
- WSL version 2.1.5 or later.
- Windows 11 64-bit: Home or Pro version 22H2 or higher, or Enterprise or Education version 22H2 or higher.
- Windows 10 64-bit: Minimum required is Home or Pro 22H2 (build 19045) or higher, or Enterprise or Education 22H2 (build 19045) or higher.
Usewinkey+R>winverto check your windows version.
Step 1 - Install WSL2 and update:
- Open your Terminal (either PowerShell or CMD) WinKey+x and select Terminal (or winkey+R and type CMD)
- Type
wsl --versionif it doesn’t show you a version number it will prompt you to press any key to install. Press any key to install WSL, or runwsl --installdirectly… See screenshots below: - If you already have wsl installed, use
wsl --updateto make sure you have the latest WSL2 version.


Step 2 - Install an Ubuntu instance and Docker Desktop
-
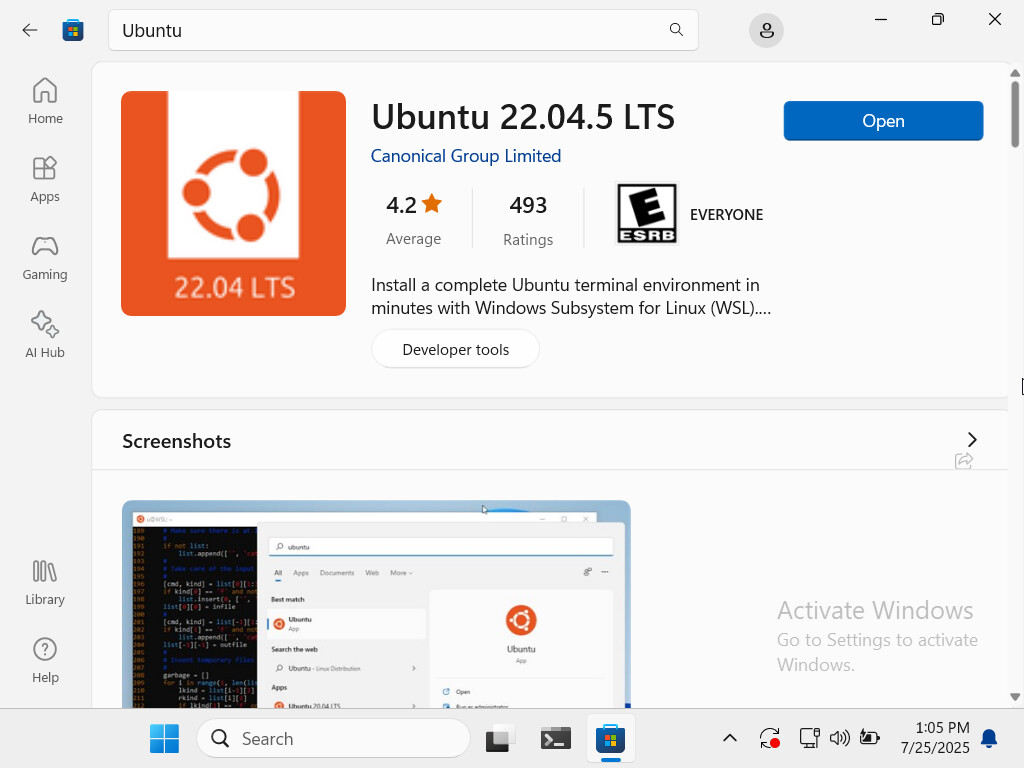
Using the Microsoft Store, search for Ubuntu and download one of the LTS instances (Ubuntu 22 or above). See screenshots below:

-
Install Docker Desktop. See docker docs (Windows | Docker Docs):

-
Activate the WSL2 integration for the Ubuntu distro you installed above. See Docker docs (WSL | Docker Docs ):

After installing WSL2, Ubuntu and Docker Desktop, please restart your Windows OS, or at least close your Ubuntu terminal and run wsl --shutdown from a Windows PowerShell/CMD terminal.
Now, you can either use the manual step by step option, or use the automated script get-dhis2.sh:
Manual steps:
Step 3 - Install Prerequisites:
- Check for Important system updates:
sudo apt update && sudo apt upgrade -y
- Make sure that Docker Desktop is working:
docker context use default && docker infoIf it fails then please check that Docker Desktop integration with WSL2 is properly installed and running: (WSL | Docker Docs ).
Step 4 - Create a directory for your DHIS2 Instance and prepare configuration files
- Change “my-dhis2-instance” to anything you like; for instance, testing-42. This is important because for each instance, you need to use a new directory:
mkdir -p my-dhis2-instance && cd my-dhis2-instance
- .env file, change the value for DHIS2_IMAGE to the image name (default is dhis2/core-dev:latest, but you can find image names in the tag section of the image page in Docker Hub: dhis2/core - Docker Image)
cat << EOF > .env
DHIS2_IMAGE=dhis2/core-dev:latest
DHIS2_DB_DUMP_URL=https://databases.dhis2.org/sierra-leone/dev/dhis2-db-sierra-leone.sql.gz
EOF
- .conf file, these are the default username/passwords and database name. Keep as is unless you know what you are doing (if you make some changes here, these will need to reflect on the docker-compose.yml file such as the database name).
mkdir -p docker
cat << EOF > docker/dhis.conf
# Hibernate SQL dialect
connection.dialect = org.hibernate.dialect.PostgreSQLDialect
# JDBC driver class
connection.driver_class = org.postgresql.Driver
# JDBC driver connection URL.
connection.url = jdbc:postgresql://db:5432/dhis
# Database username
connection.username = dhis
# Database password
connection.password = dhis
# Database schema behavior
connection.schema = update
EOF
- log4j2.xml this will allow you to check the logs when it runs:
cat << EOF > docker/log4j2.xml
<?xml version="1.0" encoding="UTF-8"?>
<Configuration status="INFO">
    <Appenders>
        <Console name="Console" target="SYSTEM_OUT">
            <PatternLayout pattern="%d{yyyy-MM-dd HH:mm:ss.SSS} %-5level %logger{36} - %msg%n"/>
        </Console>
    </Appenders>
    <Loggers>
        <Root level="INFO">
            <AppenderRef ref="Console"/>
        </Root>
    </Loggers>
</Configuration>
EOF
Step 5 - Download the official docker-compose.yml file:
curl -sL "https://raw.githubusercontent.com/dhis2/dhis2-core/master/docker-compose.yml" -o docker-compose.yml
You can use the file without making any changes; however, if you run multiple instances in your windows OS (or other service that’s already using the default ports) then you will need to update some of these values:
- Update the Host Port numbers in ‘services’. For instance, change
127.0.0.1:8080:8080to127.0.0.1:8083:8080(keep the second port after the colon because that is specific for docker instance). - Pick the image name as explained in (GitHub - dhis2/dhis2-core: DHIS 2 Core. Written in Java. Contains the service layer and Web API.). Change the value of DHIS2_IMAGE in
x-web-base: &web-base image: "${DHIS2_IMAGE:-dhis2/core-dev:local}"change the value ofdhis2/core-dev:localto the image you will use such as dhis2/core:2.42.
Step 6 - Start the DHIS2 Instance:
You might want to wait for a bit until the database finishes loading, and then in the same directory run docker compose up -d, but if you run the command and see an error, use docker compose logs -f to check the log.
get-dhis2.sh Automation Script
After several tests using the manual steps mentioned in the topic post, a number of debugging steps and port checking were necessary, and it came to light that all these steps can be automated.
Thus, with the help of AI and persistant testing, the manual steps mentioned above were converted to an automation script. The get-dhis2.sh script purpose is to make this process easier by checking ports, creating seperate directories for each instance, and using the docker-compose.yml file from the DHIS2 core repository.
This script automates the local installation of DHIS2 instances. You need to run the script in the folder where the instances directory will be created. The script will prompt you to enter the directory name, the DHIS2 Docker image (version/release), and ensures there are no port conflicts. You can run this script multiple times to install different versions easily.
Note: this is for testing/development and is not supposed to be used for production. Additionally, the script uses sudo for system updates and other administrative checks; therefore, make sure to close the terminal after running the script (and don’t run anything else until you close the terminal).
Please know that the script was developed while being tested at the same time, and so to keep this script helpful for all, you are asked to please share your feedback and any errors related to the script, in this topic post.
- First, get the script file from the GitHub repository:
curl -sL https://raw.githubusercontent.com/gassims/get-dhis2.sh/refs/heads/main/get-dhis2.sh -o get-dhis2.sh - Second, make the script file executable:
chmod +x get-dhis2.sh

- Finally, run the script and follow the instructions:
./get-dhis2.sh
Here’s a video recording for using the automation script - get-dhis2.sh (without the prerequisite installation which are explained at the top of the topic post, and the initial steps mentioned in Automated get-dhis2.sh Script above):